Thursday, December 22, 2011

A Christmas Tradition

Thanks to everyone who voted for me in the QC School of Design DIY contest.  I guess it ended a day early and I wasn't the winner.  No biggie (although I'm super competitive and winning is AWESOME).  Now to get on with life.  I want to share one of my favorite family traditions with you today.


I grew up in a teeny tiny town in Utah where I lived a hundred yards down the street from my grandparents.  Every Christmas Eve we would go to their house and have a family dinner and party with all of the aunts, uncles and cousins.  It was so much fun!  But it was always something my grandma worried about.  That's her to the left, by the way.  She always wanted everything perfect... and it was. She passed away just over a year ago so this Christmas will be the second one we'll spend without her.  I miss her so much and her Christmas Pie will live on with my family.
This Christmas Pie had nothing to do with food and everything to do with presents.  Grandma would buy small gifts for every grandchild according to gender and have them wrapped by Christmas Eve.  Then she would tie either a blue or pink string to them (depending on if they were boy or girl gifts), put them in a basket and cover the basket with a cute Christmas towel. 
We were always excited when it came time to do the Christmas Pie.  Every kid would get around the pie and grab a string.  When grandma said it was okay, we would simultaneously pull the string attached to a gift and that was the gift we got to unwrap that night -- Christmas Eve. When we all got a little older, she started buying gifts for us individually instead of just the gender and she would tape our names to the end of the string. This is one of the simplest, yet most memorable Christmas traditions in my family.  Now my cousins, siblings and I have moved away from home but every year we come together for our Christmas Eve party (which is now held at the town hall instead of Grandma's house) and we have the Christmas Pie for our kids.  This tradition will never die and it's something I'll do with my grandchildren too.

What are some of your family traditions?  If you've posted about them leave the link in the comments section!

Wednesday, December 21, 2011

Homemade Gingerbread House

I'm feeling like the best mom right now!  We finally, after 2 1/2 years, had a successful family night where everything turned out as I had imagined (unlike the Build-A-Bear experience).  Wooh!  

I'm writing this Tuesday night and we made a homemade gingerbread house.  It was homemade, but not totally.  I used two Betty Crocker gingerbread cake/cookie mixes and followed the cookie instructions, cut out the sides and roof for the house, and we decorated with the usual candy that I wouldn't normally buy.  Awesomeness!  And I think it is the best gingerbread house around.  Eat your heart out Walmart gingerbread house packets!


PS  Pretty please vote again (or for the first time) for my piano at http://www.facebook.com/QCDesign?sk=app_95936962634.  I could win a cool camera. :)  The winner is announced on the 22nd.

Tuesday, December 20, 2011

Our House at Christmas

Really quick: I appreciate everyone who has voted for my piano on the QC Design School FB page.  Thank you, thank you.  But guess what!  You can vote every day until the 22nd!  Yay!  So pretty please vote again at http://www.facebook.com/QCDesign?sk=app_95936962634.  I could win a cool camera. :)

I think my house is finally as decorated as it is going to be for Christmas so today I'm going to share how it all goes together.  If you missed any of the 12 DIY decor days of Christmas, look through the December posts for tutorials on most of my decorations.  

Here's the mantle with the peppermint letter and peppermint picture frame:  

And the rest of the living room from different angles:


Here's the dining room:

And the front door:

I'm linking up to some or all of the parties at the bottom of the blog, plus:
Cottage & Vine

Monday, December 19, 2011

Christmas Guest Post: Janny @ Que Linda

Hello!  I hope you all had a great weekend and that everyone got to do something special for Christmas (or whatever holiday you celebrate).  I'm excited to introduce you to my bloggy friend who has an awesome tutorial for you today.  Meet Janny from Que Linda.

Hi everyone!  I'm absolutely thrilled to be a guest today at The Turquoise Piano.  (Isn't that an awesome blog name, I love it!)  Thanks Kelli for having me over!   You can usually find me crafting, sewing, and figuring out how to use power tools over at my blog, Que Linda. During my non-blogging, non-crafting hours, I chase around a 16 month old little lady and hang out with my husband who puts up with my piles of craft "junk".  


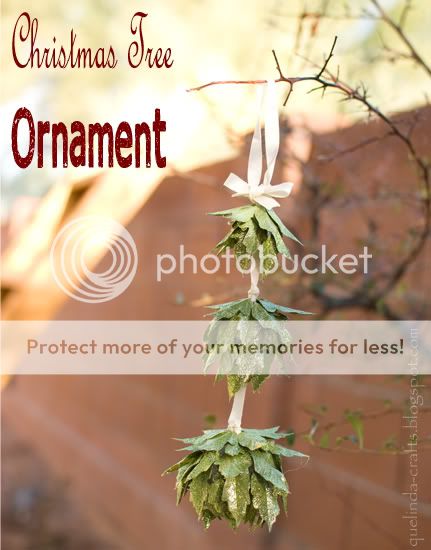
We put up our first Christmas tree this year (that wasn't 1' tall) so now I have my eye on ornaments to dress it up a little.  Today, I'm going to show you an ornament I made to add to my collection.


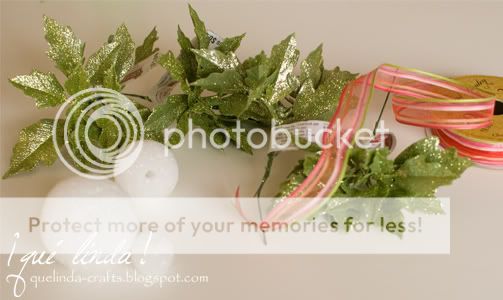
This is what I used to make it:

A few stems of glittery leaves from the craft store (have you noticed that glitter is everywhere this year!)
Some ribbon
3 different sized styrofoam balls from the dollar store.


I poked a hole down the center of each styrofoam ball.  I cut the leaves off the stems and glued them on.


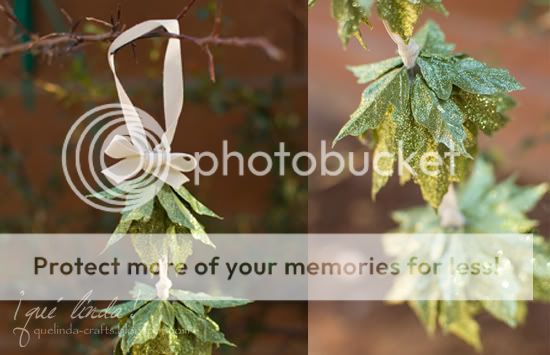
Then I threaded the ribbon through each ball using a large needle.  I tied a knot at the top and bottom of each ball to keep them from moving.  Then I tied a loop and bow on top.


Gotta love that glitter!


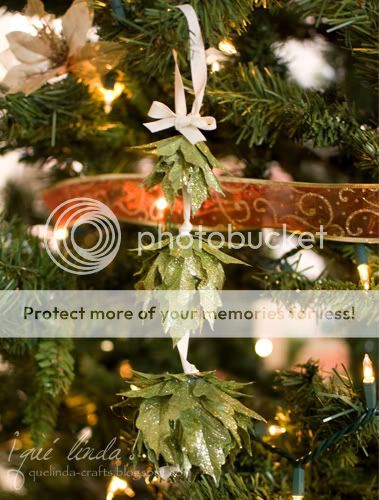
It looks great on the Christmas tree, although I think it would be fun to put it on a garland with other funky ornaments to hang on a mantle.


Thanks for letting me stop by and 
Merry Christmas!


Janny, I love it!  It is so fresh looking and I love the glitter.  And by the way, you take great pictures.  Thank you for sharing this with us today!  Everyone head on over to Que Linda and give Janny some love.

Sunday, December 18, 2011

Guest Post at Everything Under the Moon

Hi!  I'm guest posting over at Everything Under the Moon today at 2pm so go over there and check out Nikki's blog.  You will find tons of other inspirational Christmas posts over there for her 12 Days of Christmas Holiday Party.

Upcoming Events 

Friday, December 16, 2011

The 12th Day of Christmas: Coffee Filter Ball and Mint Ornament

I really appreciate everyone who voted for my piano on the QC Design School yesterday.  But guess what!  You can vote every day until the 22nd!  Yay!  So pretty please vote again at http://www.facebook.com/QCDesign?sk=app_95936962634 and if you didn't get to vote yesterday, please help me out.  I could win a cool camera. :)

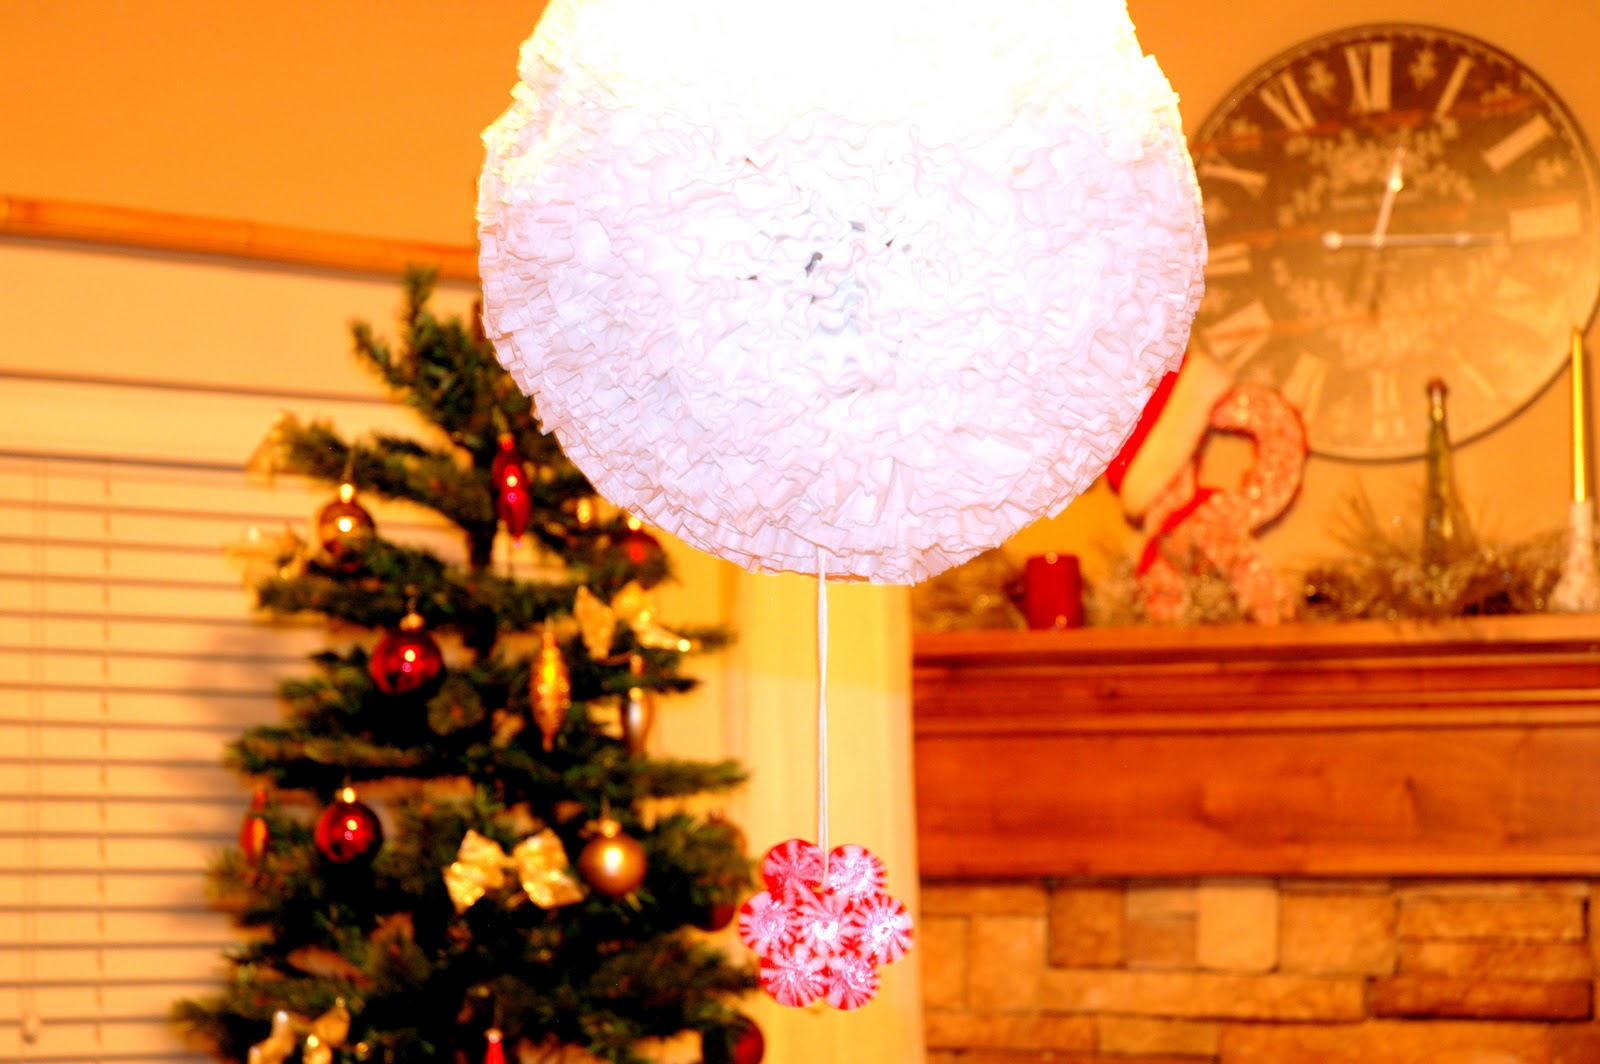
Today is the last day of my 12 Days of DIY Decor Christmas so I did a project that took way too much time but in the end was worth it.  Actually, this is a two-project project: coffee filter wreath and mint ornament.

You start out with the mints.  You can do whatever design you want, including placing them in metal cookie cutters.   
 Then you bake them.  I did one at 350 for 6 minutes but that was a little too long so the next I did at 300 for about 7-8 minutes.  I liked that much better.

This is my first try at 350 degrees.  I poked a hole in it with a skewer while it was still pliable.

This is the second try at 300 degrees.  

For the next part of this project I got a couple of newspapers.  I get 5 Sunday papers for the coupons so I had plenty of the "news" part left over.  I rolled it into a big ball, taped it all around with packing tape, and molded a wire hanger vertically around the center.

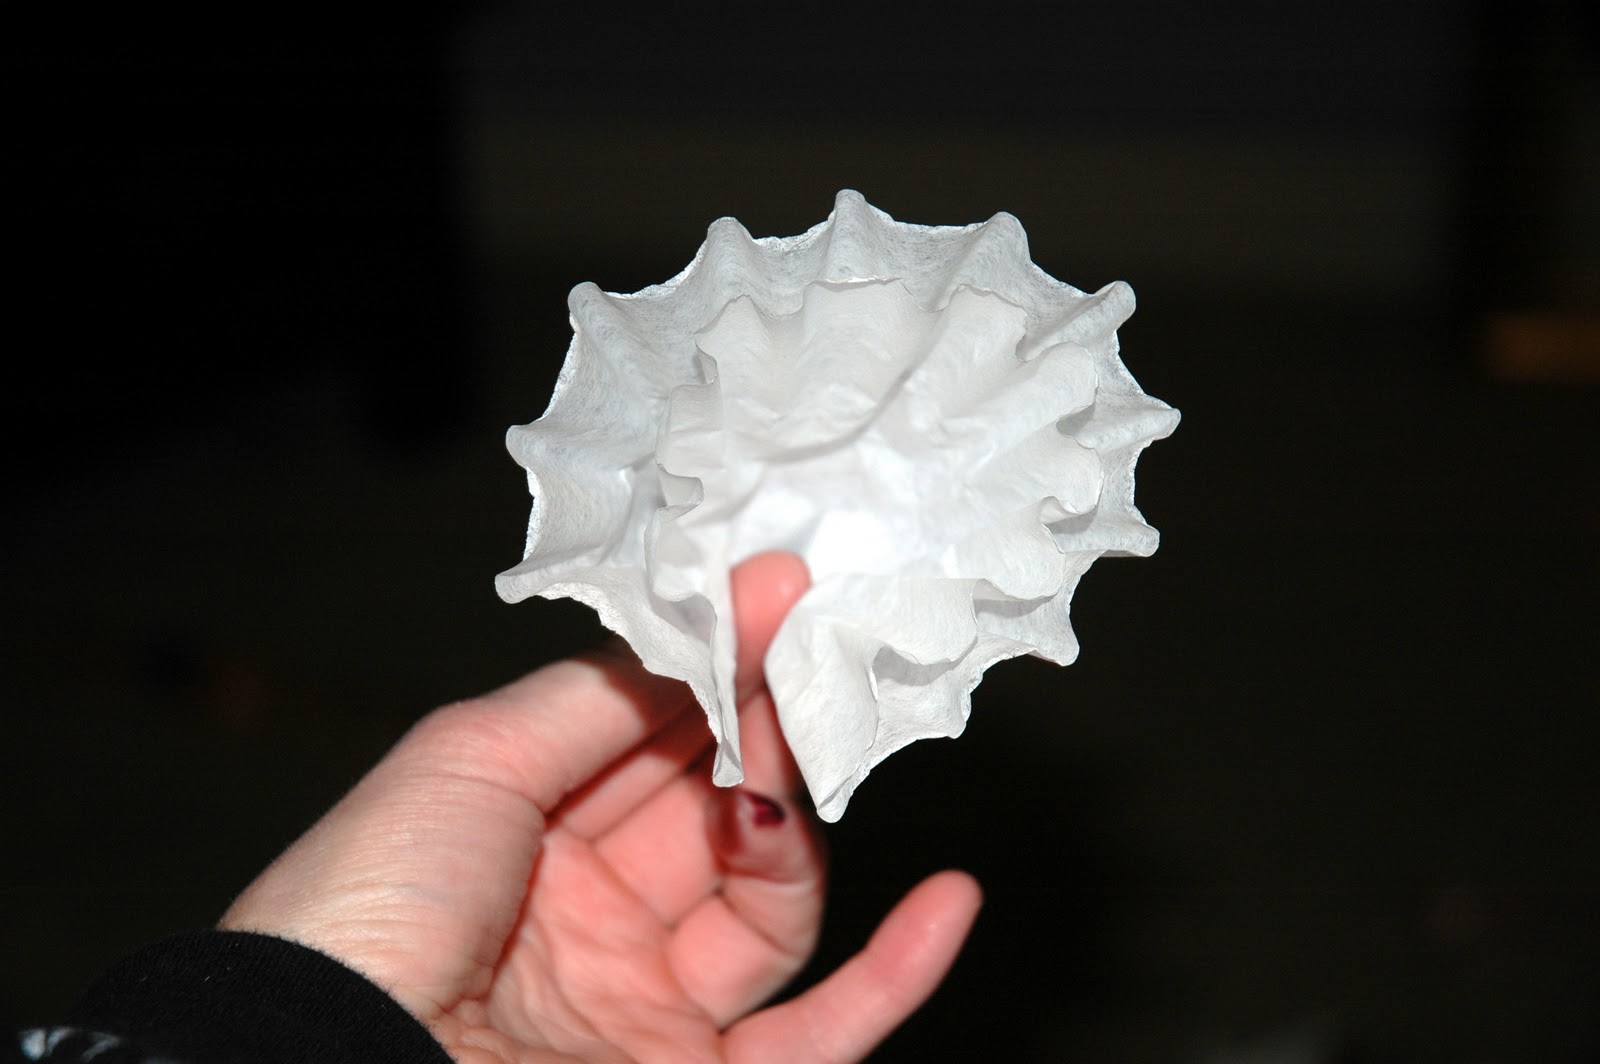
Then I took a package of coffee filters and folded them in half.

Then folded both of the outside edges to the center.

Here is a view from the top.

Next I hot glued the filters to the newspaper ball.

And almost had enough to finish.  Almost.

I will probably be hanging this in Morgan's room after Christmas.  I think it will look great in there -- maybe with a coffee filter picture frame... 

Have a fantastic weekend!  I hope you all get to go to a party or make cookies or whatever you do that makes you happy!  Oh, and again, please vote for my piano.


Linking up at the great Linky parties found at the bottom of the blog.  They are where I find most of my inspiration!  Check them out!

plus

Thursday, December 15, 2011

The 11th Day of Christmas: Glass Block Nativity


I'm so excited!  I had to keep it a secret until today but now I get to tell.  I entered my piano into a DIY contest on the QC Design School Facebook page a few weeks ago and found out on Monday that I was chosen to be one of the 5 finalists.  The winner gets a new Fujifilm digital camera.  However, the person who wins will be the person who's project gets the most votes on Facebook.  So, pretty please vote for my turquoise piano on their FB page.  Click on this link http://www.facebook.com/QCDesign?sk=app_95936962634 then "vote now," and then vote for the piano.  THANKS!

Okay, onto the my 11th DIY decor day of Christmas: Glass Block Nativity.  I learned about this project four years ago from my mom.  Her church group did it as an activity and she got one for me and my sister-in-law to do too.  Then last year I was in charge of the same sort of activity with my own church group and I decided to make them.  

You need three glass blocks (I used one 8x8x4 and two 6x8x4 blocks).  You can get them at almost any craft store but they are kind of pricey, even with coupons, so I just got mine at Lowe's.  The difference is that those at the craft store have a hole in the bottom and you can put lights inside, which is pretty cool but not enough for me to pay 3 times what it cost at Lowe's, ya know?

Here they are before the nativity is finished.  I guess the wise men don't know which way to go because there isn't a baby yet.  I just want to tell them that He'll be in the center!  Don't leave!

I had a friend cut out the vinyl because I don't have any of the machines that do that kind of thing.  I think she drew it herself but there are some apps (or whatever they're called -- again, I don't have a machine) with the nativity.


All you do is peel it off and stick it on the glass.

And now everyone knows which way to go.

Have a great day and please please please vote for my piano!!!


Linking up at the great Linky parties found at the bottom of the blog.  They are where I find most of my inspiration!  Check them out!

plus

Related Posts Plugin for WordPress, Blogger...